
There’s something magical about the smell of chocolate chip cookies baking in the oven. It’s the scent of childhood memories, cozy afternoons, and pure comfort food bliss. After years of experimenting in my kitchen and countless batches that ranged from hockey pucks to pancake-flat disasters, I’ve finally cracked the code to the perfect chocolate chip cookie.

Friends, let me tell you – this isn’t just another cookie recipe. This is THE recipe that will make your neighbors suddenly very friendly and your family mysteriously appear in the kitchen whenever you start preheating the oven.
What Makes These Cookies Special?
The secret lies in the perfect balance of ingredients and a few key techniques that most recipes skip over. We’re talking about cookies with gloriously crispy golden edges that give way to soft, chewy centers loaded with melty chocolate chips. The kind that makes you close your eyes on the first bite and let out an involuntary “mmm.”
The Science Behind the Perfect Chocolate Chip Cookie
Before we dive into the recipe, let me share what I’ve learned through my cookie journey. The magic happens when we use a combination of brown sugar and white sugar – the brown sugar adds moisture and that deep, caramel-like flavor, while the white sugar helps create those coveted crispy edges. The slightly underbaked center is achieved by pulling them from the oven when they look almost done – trust me on this one!
Ingredients You’ll Need
For the cookies:
• 2¼ cups all-purpose flour
• 1 teaspoon baking soda
• 1 teaspoon salt
• 1 cup (2 sticks) butter, softened
• ¾ cup granulated sugar
• ¾ cup packed brown sugar
• 2 large eggs
• 2 teaspoons vanilla extract
• 2 cups chocolate chips (I prefer a mix of semi-sweet and milk chocolate)
My secret additions (optional but recommended):
• 1 teaspoon instant coffee powder (enhances the chocolate flavor without making them taste like coffee)
• A pinch of cinnamon
• Flaky sea salt for sprinkling on top
How to make Chocolate Chip Cookies
First things first – preheat your oven to 375°F (190°C). I know it seems obvious, but I can’t tell you how many times I’ve gotten caught up in the mixing process only to realize my oven isn’t ready! While it’s heating up, line your baking sheets with parchment paper.
This is non-negotiable, friends. Not only does it prevent sticking, but it also promotes even browning and makes cleanup an absolute breeze. Trust me, you’ll thank me later when you’re not standing at the sink scraping burnt cookie bits off your favorite baking sheets with a spatula at 10 PM.
Prepare the Chocolate chip cookie Dough
In a medium bowl, whisk together the flour, baking soda, salt, and that secret pinch of cinnamon if you’re using it. I love using a proper whisk here – it aerates the flour and ensures everything is evenly distributed. You’ll notice the mixture gets slightly lighter in color when properly whisked.
This is your dry ingredient foundation, so set it aside in a safe spot where you won’t accidentally knock it over (learned that lesson the hard way!).

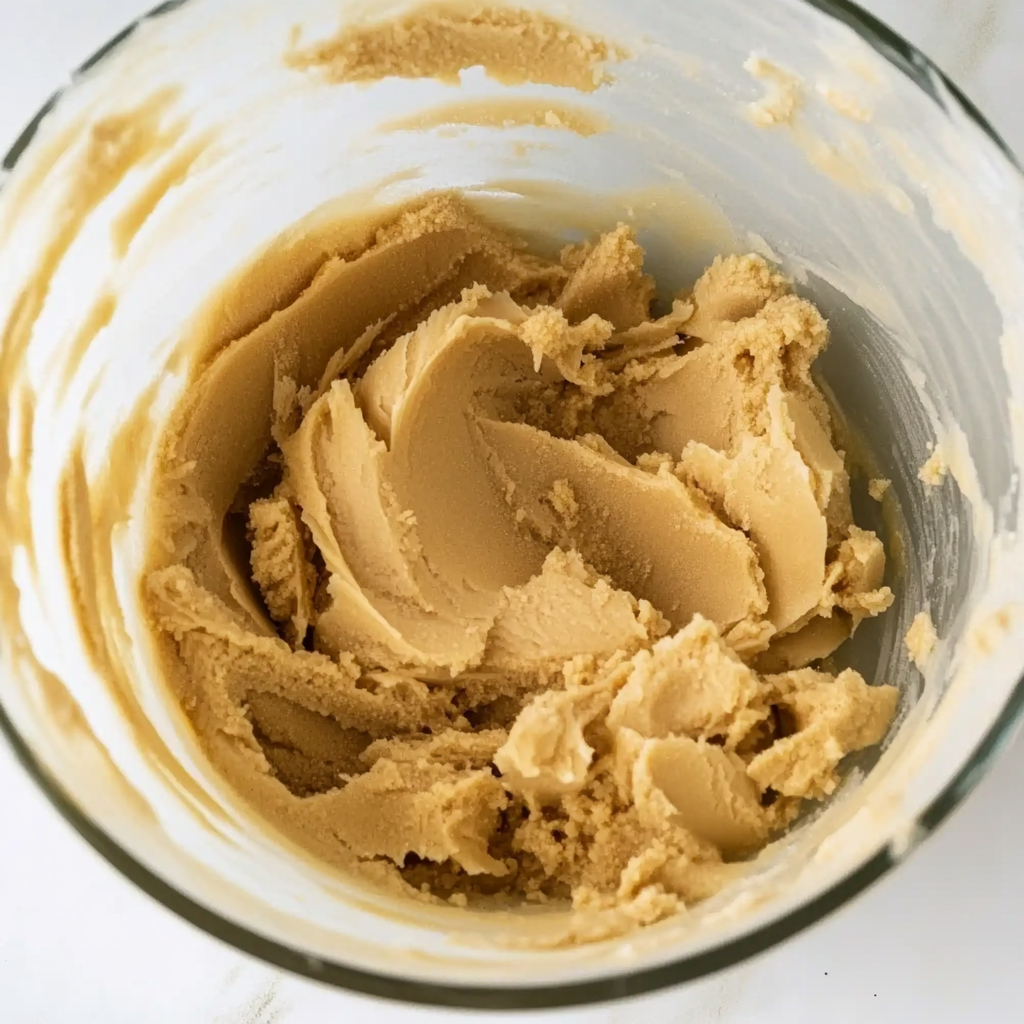
Here’s where the real magic begins, and honestly, this is the make-or-break moment for your cookies. In a large mixing bowl, combine your softened butter with both sugars. Now, here’s the key – your butter should be soft enough that you can easily press your finger into it, but not so soft that it’s melting. Room temperature is perfect. Using an electric mixer (stand mixer preferred, but hand mixer works too), beat this mixture for a full 3-4 minutes. Don’t shortchange this step!
You’ll see the mixture transform from dense and yellow to light, fluffy, and almost brown. It should nearly double in volume and look like the most luxurious buttercream frosting. This process incorporates air into the dough, which is what creates that perfect tender texture. If your mixture looks grainy or isn’t getting fluffy, your butter might be too cold – let it sit for a few more minutes and try again.
Now we’re adding our wet ingredients, and order matters here! Beat in the eggs one at a time – and I mean one at a time. Add the first egg and beat until it’s completely incorporated before adding the second. This prevents the mixture from breaking or looking curdled. After both eggs are beautifully mixed in, add your vanilla extract and that secret weapon – the instant coffee powder if you’re using it.
Don’t worry if the mixture looks a bit curdled or separated at this point. It might not look pretty, but I promise it’s going to come together beautifully in the next step. The vanilla should smell absolutely heavenly at this point – if you’re not tempted to lick the beaters, you’re doing it wrong!
This is where many home bakers go wrong, so pay attention! Add your flour mixture to the butter mixture gradually – I usually do it in three additions. Mix on the lowest speed your mixer has, and stop the moment you can’t see any white flour streaks. The dough should look just barely combined and slightly shaggy.
Overmixing at this stage develops the gluten in the flour, which will give you tough, chewy cookies instead of the tender ones we’re after. If you see the dough becoming smooth and elastic, you’ve gone too far. Better to have a few flour streaks than overdeveloped gluten!
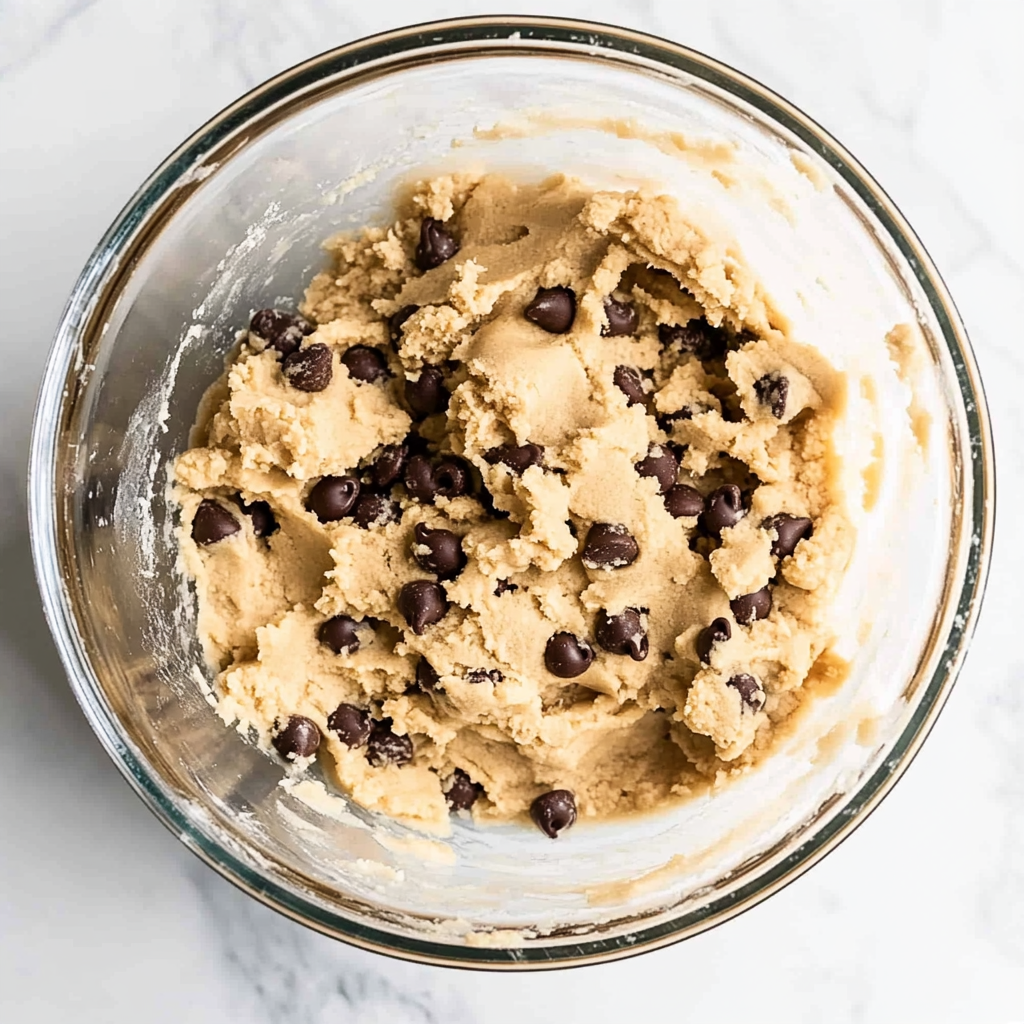
This is hands down my favorite part of the entire process! Remove the bowl from the mixer and fold in those gorgeous chocolate chips using a wooden spoon or rubber spatula. I like to use a gentle folding motion, almost like you’re folding whipped cream. The goal is to distribute the chips evenly without overworking the dough.
Here’s my secret trick: reserve about ¼ cup of chocolate chips in a small bowl. We’ll use these to press on top of each cookie before baking, which gives you those picture-perfect, bakery-style cookies that look like they’re absolutely loaded with chocolate. Your future self will thank you for this extra step!
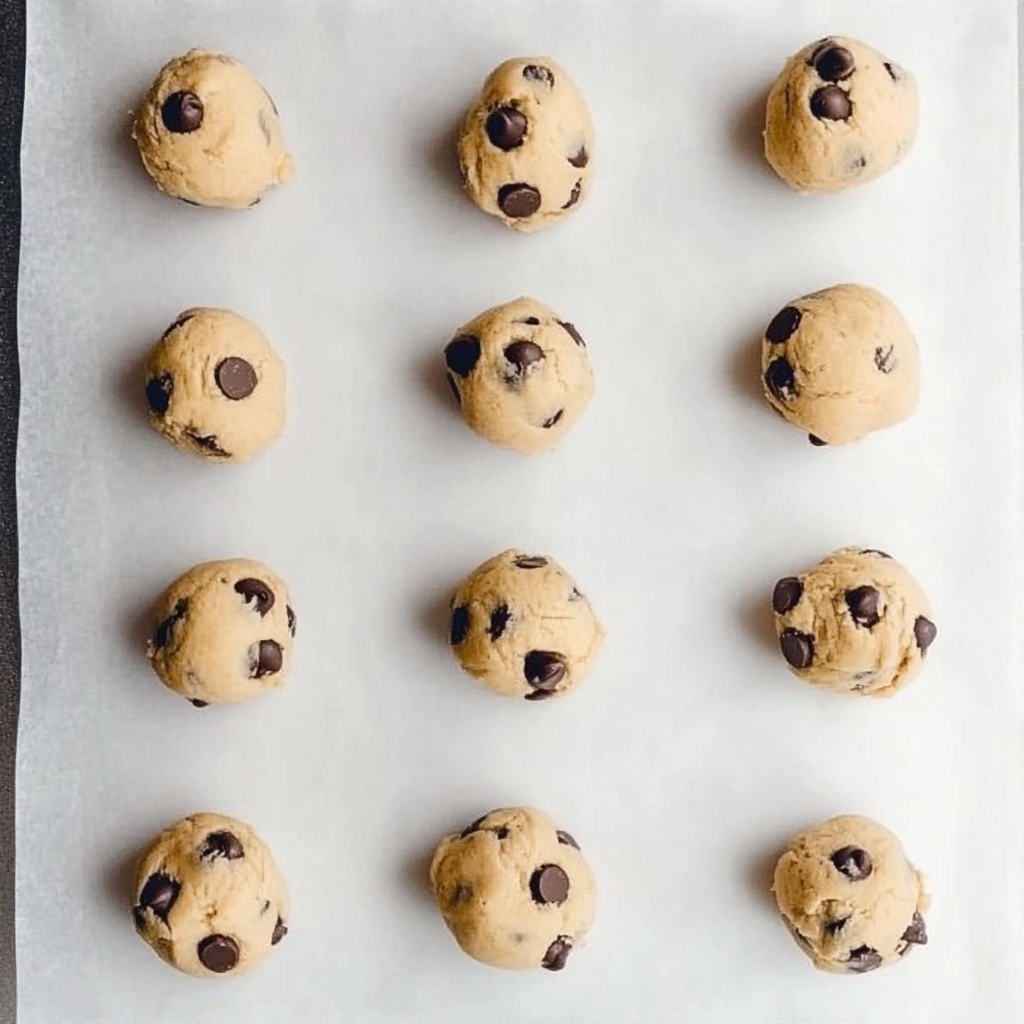
Using a cookie scoop (my preference for consistent sizing) or two spoons, portion out rounded tablespoons of dough onto your prepared baking sheets. Space them about 2 inches apart – these babies will spread as they bake, and nobody wants accidentally conjoined cookies!
Now comes the fun part: press those reserved chocolate chips gently into the top of each cookie. Don’t just plop them on – press them slightly into the dough so they stay put during baking but still look gorgeous on top.
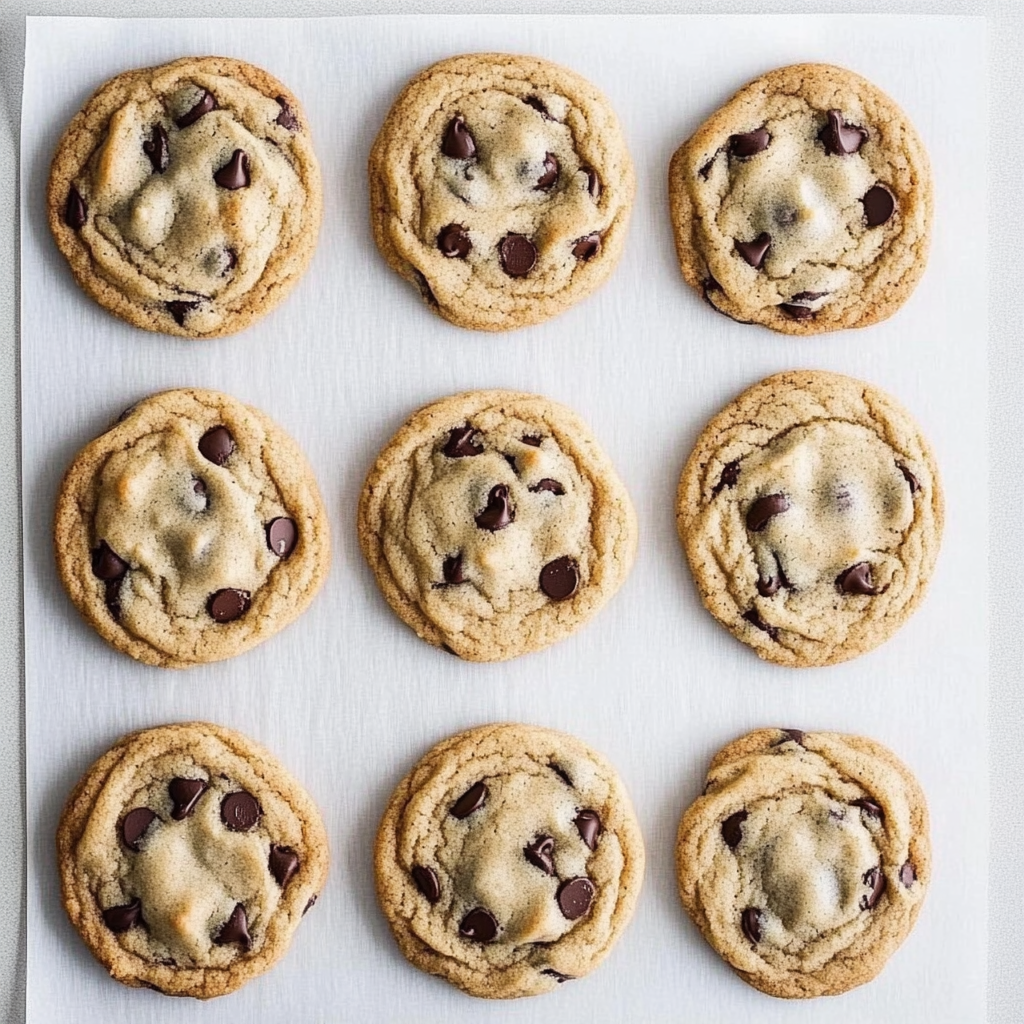
Slide those beautiful trays into your preheated oven and bake for 9-11 minutes. Here’s the crucial part that separates good cookies from great cookies: you want the edges to be golden brown and set, but the centers should still look slightly underdone and soft. They might even look a tiny bit raw in the center – that’s exactly what we want! The cookies will continue to cook on the hot baking sheet after you remove them from the oven.
When you pull those cookies out of the oven, they’re going to look soft and maybe even a little underdone. Every instinct will tell you to poke them or try to transfer them immediately – resist!
Let them cool on the baking sheet for a full 5 minutes. The residual heat from the pan continues to cook the cookies gently, setting the edges while keeping the centers perfectly chewy. After 5 minutes, they’ll be firm enough to transfer to a wire rack without falling apart, but still warm enough to melt in your mouth.
If you absolutely can’t resist (and believe me, I understand), grab one from the edge of the pan with a spatula for your “quality control” taste test. Just don’t say I didn’t warn you about the molten chocolate chips!
My Pro Tips for Cookie Success
Room Temperature Ingredients: Make sure your eggs and butter are at room temperature. This ensures everything mixes together smoothly and creates the perfect texture.
Don’t Overbake: Seriously, I cannot stress this enough. The cookies will look slightly underdone when you pull them out, but they’ll continue cooking on the hot pan.
Chill the Dough: If you have time, chill the shaped cookie dough for 30 minutes before baking. This prevents excessive spreading and gives you thicker cookies.
Size Matters: Keep your cookies roughly the same size so they bake evenly. A cookie scoop is your best friend here.
Storage and Serving
These cookies stay fresh in an airtight container for up to a week (though they never last that long in my house). For longer storage, freeze the baked cookies for up to 3 months, or freeze the cookie dough balls and bake fresh cookies whenever the craving hits.
Serve them with a tall glass of cold milk, crumble them over ice cream, or just eat them straight from the cooling rack like I do when no one’s looking.
The beauty of this recipe is that once you master the basic technique, you can make it your own. Try different types of chocolate chips, add some chopped nuts, or experiment with a sprinkle of sea salt on top. The possibilities are endless, and every variation is delicious.
Happy baking!
What’s your favorite chocolate chip cookie memory? I’d love to hear about it in the comments below, and don’t forget to share photos of your cookie creations on social media – tag me so I can see your beautiful batches!
The Ultimate Chocolate Chip Cookie Recipe
Ingredients
Equipment
Method
- Preheat oven to 375°F. Line baking sheets with parchment paper.
- Whisk together flour, baking soda, salt, and cinnamon in medium bowl.
- Beat softened butter with both sugars for 3-4 minutes until light and fluffy.
- Beat in eggs one at a time, then vanilla and coffee powder.
- Gradually mix in flour mixture until just combined. Don’t overmix.
- Fold in chocolate chips, reserving extra for topping.
- Drop rounded tablespoons onto baking sheets, 2 inches apart. Press extra chips on top.
- Bake 9-11 minutes until edges are golden but centers look slightly underbaked.
- Let cool on baking sheet 5 minutes before transferring to wire rack.

Notes
- Room temperature ingredients mix better
- Don’t overbake – cookies continue cooking on hot pan
- Chill dough 30 minutes for thicker cookies
- Use cookie scoop for even sizing
Browse all my recipes and baking tips at my blog section – there’s always something delicious waiting for you!


Really Good 💯